Free UK mainland delivery over £500 ex VAT

How to Measure Reception Counters Correctly
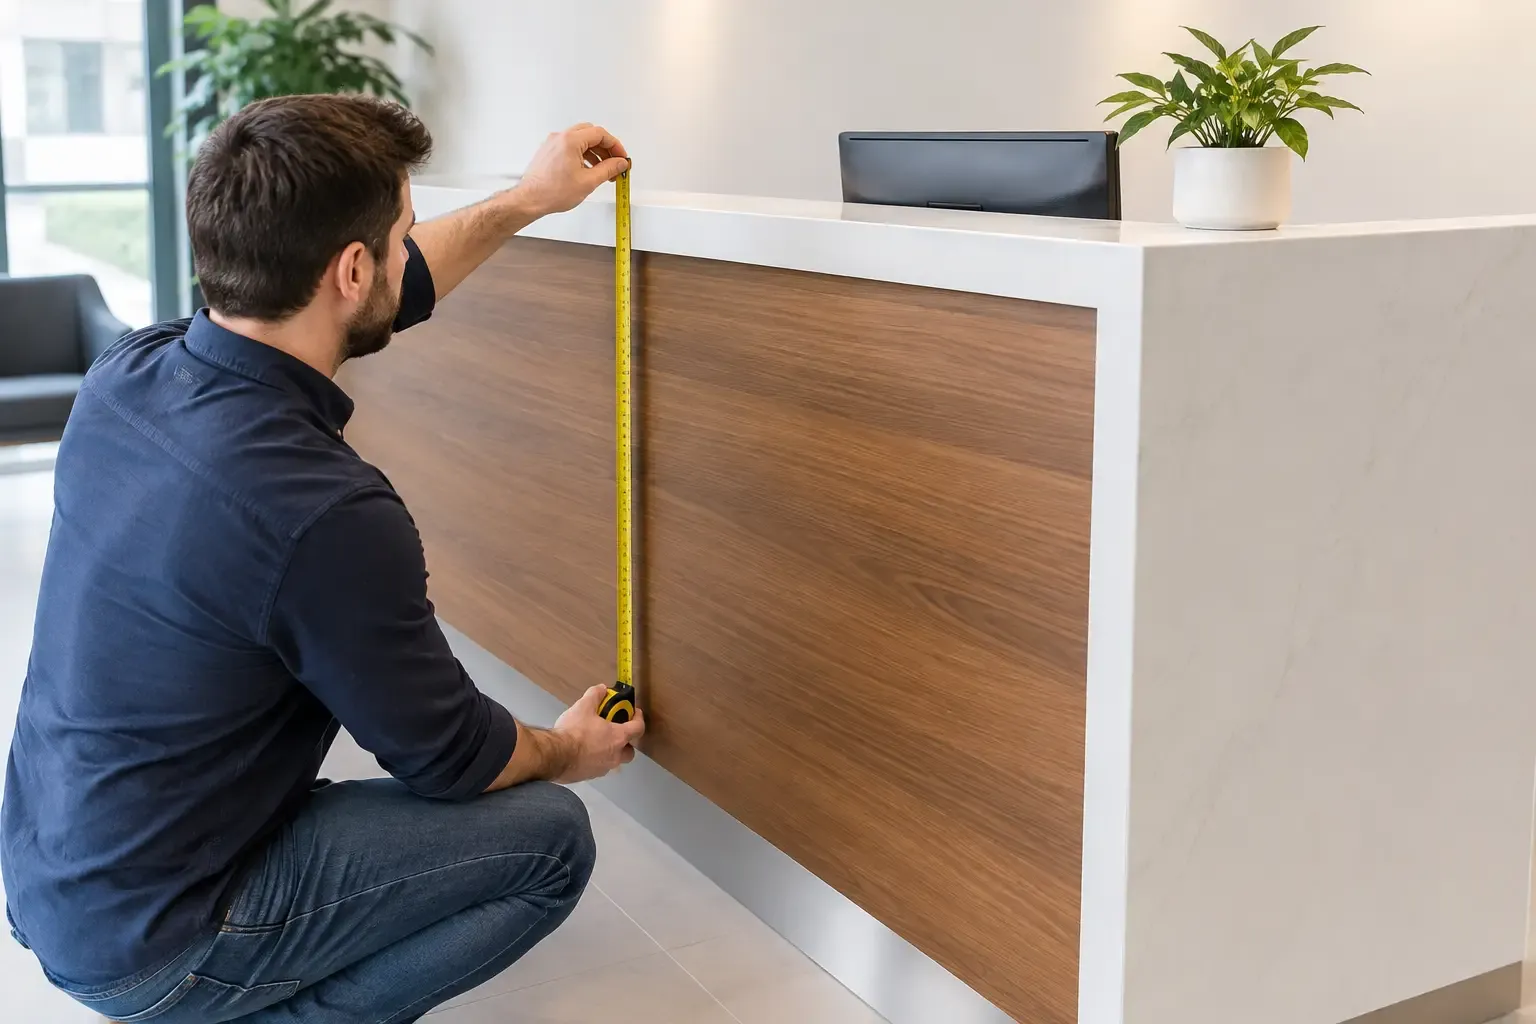
A reception counter can look straightforward on a floor plan, yet a few missed measurements can leave staff with too little working room, visitors without a clear point of contact, or installers unable to get the unit into position. Knowing how to measure reception counters properly means measuring the whole reception operation, not just the wall where the counter will sit.
For offices, schools and public-facing organisations, the best counter is one that makes arrival feel organised while giving the reception team enough space to work comfortably. Start with the room, then the people, equipment and access routes that will use it every day.
Start with the reception layout, not the counter
Before taking dimensions, decide what the reception area needs to do. A compact office may need a single staffed welcome point, while a school entrance may need space for visitor signing-in, parcel handling, safeguarding paperwork and more than one member of staff. A busy workplace may also require a waiting area, a secure staff entrance or a separate accessible transaction point.
Mark the proposed counter position on a simple plan. Include doors, windows, radiators, columns, skirting, fire exits and any existing fixed furniture. Measure the wall length, but do not assume the full dimension is usable. Door swings, opening cupboards and emergency routes can quickly reduce the available space.
Also consider the view from the entrance. Visitors should be able to identify the reception point immediately, without walking around desks or waiting seating. In some rooms, an L-shaped or return counter creates a clearer welcome point and makes better use of an awkward corner than a long straight run.
How to measure reception counters: the core dimensions
Take measurements in millimetres and record them on a sketch rather than relying on a list of numbers. Measure twice, particularly where walls are not perfectly square. The four measurements below provide the starting point for any quotation or space plan:
Overall width - Measure the usable wall or floor length, allowing for end panels, returns and any gap required beside a wall or doorway.
Counter depth - Measure from the visitor-facing edge to the staff-side edge. This needs to accommodate the worktop, monitor position, paperwork and cable routes without making the public side feel too intrusive.
Available height - Check window sills, wall-mounted equipment, signage and any ceiling features that could affect screens, overhead storage or decorative panels.
Clear space around the counter - Measure circulation space in front, behind and at each end. This is often the dimension that decides whether a layout will work in practice.
A reception counter may have a lower staff worktop and a higher visitor-facing ledge. Typical staff desk height is around 740mm to 760mm, while a raised transaction shelf is often around 1,050mm to 1,100mm. These are useful planning figures rather than a substitute for assessing the people, tasks and accessibility requirements of your own site.
Where a counter includes a low section, confirm its height, width and knee clearance with the supplier at the design stage. Accessible provision is not simply a lower piece of furniture added at the end. It must be reachable from the visitor route and usable without creating an awkward or isolated service point. For public-facing projects, check the relevant building, accessibility and organisational requirements before placing an order.
Measure the staff working area behind the counter
The visitor-facing side gets most of the attention, but the space behind the counter determines whether reception staff can work efficiently. Measure from the rear of the counter to the opposite wall, storage run or partition. Allow room for chairs to move, drawers to open and colleagues to pass safely.
As a practical guide, a single seated workstation needs enough depth for a chair and a clear route behind it. If two people need to work side by side, plan for their chairs, monitor screens and the point where they will pass documents or parcels between them. A narrow gap may look acceptable on paper but become frustrating every time someone needs to leave their seat.
Think about the equipment that will sit behind the counter. A desktop computer, twin monitors, printer, visitor management device, telephone, card terminal and lockable pedestal can all affect the required depth and cable layout. Ask staff what they actually use during a typical day. This often reveals requirements that have not made it onto the original brief.
If storage is included, measure drawer and cupboard opening zones as well as the cabinet footprint. Filing drawers, fridge units, secure post storage and personal lockers may need more room than expected. For a school reception, secure storage for visitor badges, first-aid supplies or confidential records should be considered early rather than fitted into spare space later.
Allow for screens, privacy and sightlines
Reception screens and modesty panels change the apparent size and function of a counter. Measure the intended screen height and check whether it affects communication, natural light or the ability to see people entering the building. A high screen may suit a busy transactional reception, while a lower divider can feel more welcoming in a small office.
Privacy also matters. Visitors should not be able to read documents, see staff screens or overhear confidential conversations easily. This may influence the counter orientation, the location of seating and whether a small private meeting room or interview space is needed nearby.
Check access routes and delivery constraints
A counter can fit the room and still be impossible to deliver in one piece. Measure the narrowest point from the unloading area to the reception: external doors, corridors, stairwells, lifts, internal doors and tight turns all count. Record door widths and heights, and note whether any route has a low ceiling, steps or restricted access times.
Modular reception counters can be a sensible choice where access is tight or where the layout may change later. A made-to-measure unit can provide a more tailored fit, but it may need additional planning for transport, site access and installation. The right option depends on the budget, desired finish, room shape and how fixed the future layout is likely to be.
Do not forget the space needed for installers to work. They may need room to unpack components, join modules, fit panels and connect services. In occupied buildings, agree a safe installation area and consider whether work needs to happen outside normal opening hours.
Include power, data and building features in your survey
Modern reception counters are working furniture, not just a front panel and worktop. Identify existing power sockets, data points, floor boxes and network routes before choosing the final position. It is usually easier and more economical to place the counter near suitable services than to alter the finished counter later.
Mark socket positions and heights on the plan, including sockets hidden behind existing furniture. Consider how cables will reach monitors and devices without trailing across the worktop or floor. Cable ports, under-desk trays, vertical cable risers and integrated power modules can keep the staff side tidier and easier to maintain.
Check radiators, air vents and underfloor heating controls too. A counter positioned directly over a heat source may be uncomfortable for staff and could restrict airflow. Similarly, avoid blocking access to electrical panels, emergency equipment or building controls.
Plan for visitors, not just furniture dimensions
Measure the route from the entrance to the counter. It should remain clear when people are queuing, waiting, using mobility aids or carrying bags. If visitor seating is nearby, check that someone can stand at the counter without blocking those seated behind them.
The amount of space required depends on footfall. A quiet professional office may need little more than a clear approach, whereas a school at morning drop-off or a public-sector office at peak times may need a defined queueing area. In smaller receptions, a shallower counter or a compact return can preserve valuable floor space.
Consider where deliveries and visitors will place bags, parcels or paperwork. A useful reception should support real interactions, not require staff to balance everything on a narrow ledge. Small design decisions, such as a generous transaction top or a discreet parcel shelf, can make the area work far better day to day.
Turn your measurements into a workable brief
When requesting prices, provide a dimensioned plan, photographs of the space and a note of your practical requirements. State how many staff will use the counter, whether you need accessible provision, the equipment to be accommodated, preferred finishes, storage needs and any delivery restrictions. This gives a supplier enough information to recommend suitable standard modules or a tailored arrangement.
For organisations in East Anglia, Orbis Furniture can review the space through a free site survey and help turn measurements into a practical reception layout. For wider GB projects, clear plans, photographs and remote discussions can still resolve most questions before furniture is specified.
A well-measured reception counter should make the first interaction with your organisation feel calm and straightforward. Leave enough room for people, equipment and the unexpected parcel delivery, and the finished space will support staff long after the installation team has left.